Full Room Details
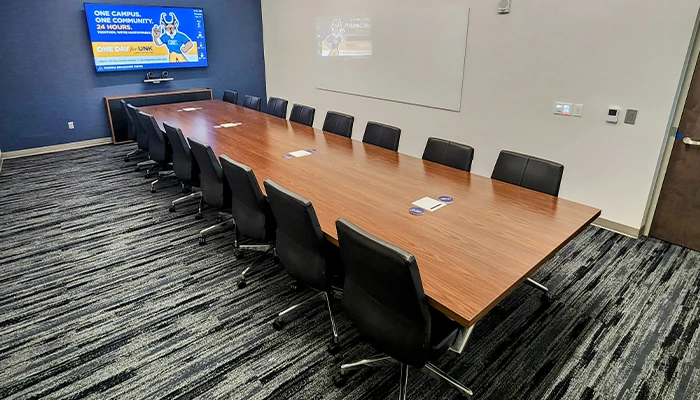
Capacity: 16 people
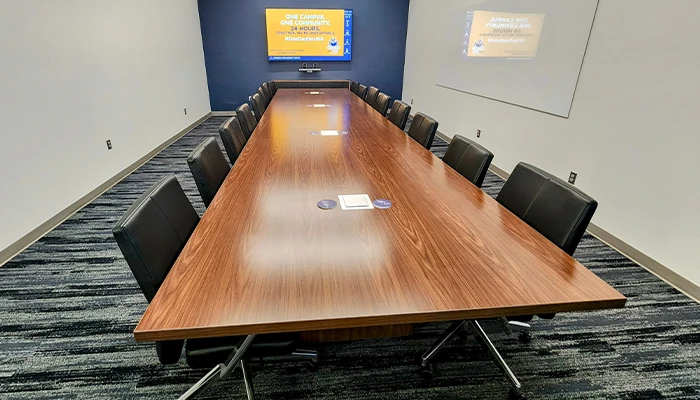
Style: Conference Room
Amenities:
✔ High-resolution screen with seamless connectivity
✔ Webcam capability for virtual meetings
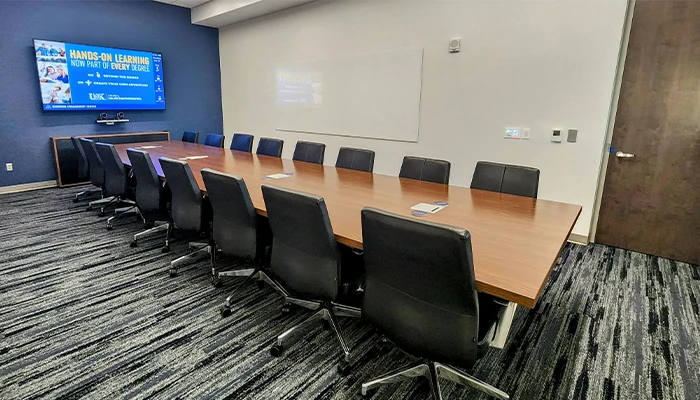
✔ Whiteboard with markers and erasers for brainstorming sessions
✔ Complete privacy option for confidential discussions
The Vault is the ideal space for high-stakes meetings, executive discussions, and private collaborations. Designed for both productivity and discretion, this conference room offers top-tier technology and a secure setting to ensure focus and confidentiality.
Reserve The Vault today and experience a space built for secure and effective collaboration!
Technology User Guide
This guide provides step-by-step instructions for connecting a laptop to the TV, speakers, and cameras in The Vault Conference Room.
Connecting Your Laptop to the TV
- Locate the HDMI Cable – Found inside the conference table.
- Plug It In – Connect the HDMI cable to your laptop.
- Switch Display Mode – Use the black controller on the table to switch from Signage to Laptop.
- Screen Mirroring – Your laptop screen should now appear on the TV.
Tip: If screen does not mirror to the TV, check your display settings and ensure screen mirroring or extended display is enabled.
Connecting to the Cameras
- Locate the USB Cable – Found inside the conference table.
- Plug It In – Connect the USB cable to your laptop.
- Select Camera Input – Open your device’s camera settings and select USB Capture SDI.
- Zoom Calls – If using Zoom, update the camera settings in the Zoom app if needed.
Tip: If no video is playing, ensure there are no applications blocking the camera from being used on your device.
Controlling the Audio
- HDMI Sync – Audio is automatically synced to the Vault room speakers when connected via HDMI.
- Adjust Volume:
- Use your device’s volume control.
- Use the white control panel on the wall.
- Adjust the knob on the panel to increase or decrease volume.
Tip: If no volume is playing, try disconnecting and connecting the HDMI cable to your device.
Adjusting the Curtains
- Locate the Control Panel – The white panel is on the wall near the entrance.
- Understand the Curtains – There are two:
- Transparent Curtain (for light filtering)
- Opaque Curtain (for full privacy)
- Use the Controls – The large rectangle buttons move the curtains up or down.
- Reset After Use – When finished, return the curtains to their original position.
Tip: Make sure you wait a few seconds before pressing the button to stop the curtain from moving.
Final Notes & Troubleshooting
- If the TV does not display your laptop screen, try disconnecting and reconnecting the HDMI cable or adjusting your device’s display settings.
- If the cameras do not work, confirm that USB Capture SDI is selected as the output device.
- Always disconnect devices and return the room to its original setup after use.