Full Room Details
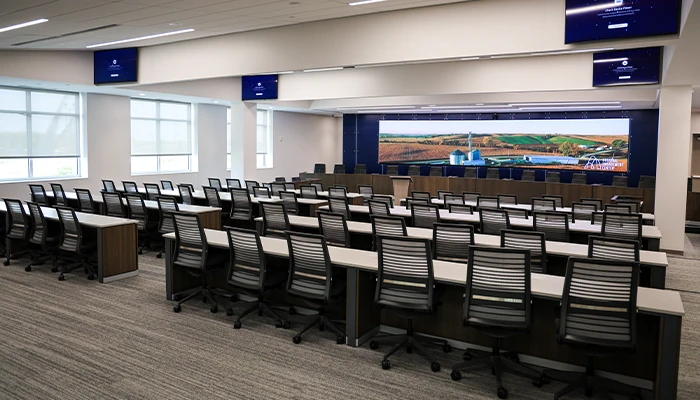
Capacity: 88 people
Style: Lecture | Town Hall
Amenities:
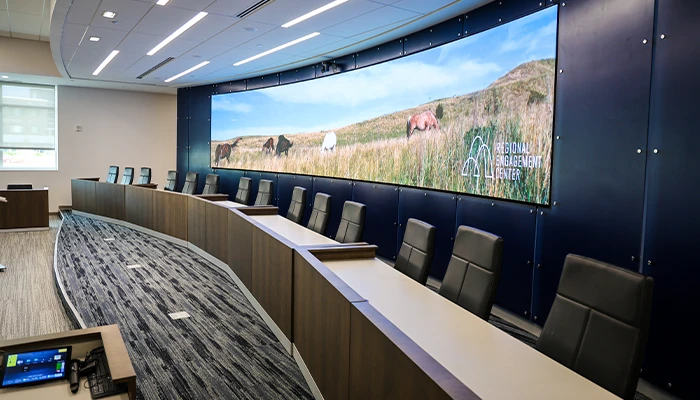
✔ Stunning 4K full-wall screen with seamless connectivity for impactful presentations
✔ Built-in webcam for virtual conferencing and hybrid events
✔ Multiscreen projection for enhanced visibility across the room
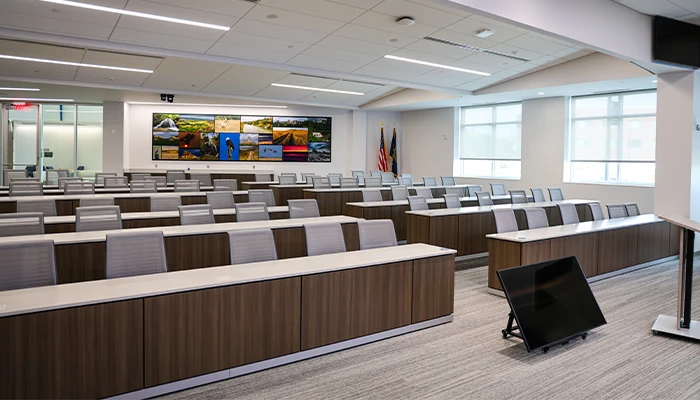
✔ Two podium options to suit different speaking styles
✔ Ample space for catering to accommodate event needs
✔ Overflow capacity for larger audiences
✔ Proudly displaying the American and Nebraska State Flags
The Core is the ultimate venue for engaging lectures, town hall meetings, and large-scale presentations. Equipped with cutting-edge technology and a professional setup, this space ensures an immersive experience for both in-person and virtual attendees.
Reserve The Core today to elevate your next event!
Technology User Guide
This guide provides step-by-step instructions for connecting a laptop to the Videoboard, speakers, and camera as well as controlling the curtains, microphone audio, connecting to the speakers via Bluetooth in The Core Conference Room. Please contact REC Event Staff for assistance when using this room to ensure proper set up. These instructions will serve as a troubleshooting guide.
Connecting to the Cameras
- The camera control system is located at the front of the room on a desk on the west side.
- A black controller screen provides access to all the cameras in the room.
- Tap the black controller screen to activate it.
- Select your organization from the menu. For this example, choose Regional Engagement Center.
- Use the provided USB cable to connect the controller to your computer.
- Open your computer’s camera application to access the connected camera.
- On the black controller screen, select the yellow “Camera Controls” button on the left-hand side.
- Use the on-screen controls to zoom, pan, or tilt the camera as needed.
- To switch cameras, select the preview of the camera you wish to display.
Connecting Audio via Laptop HDMI
- The black controller screen is located on the desk on the west side of the room.
- Activate the black controller screen and select Regional Engagement Center.
- Connect the HDMI cable to your laptop.
- On the bottom section of the controller screen, locate the list labeled “Program Audio to Speakers”.
- Select Laptop from the menu.
- Ensure your laptop’s volume is not muted.
- Play your desired audio (e.g., a song or video).
- Adjust the volume using:
- The Room Audio controls on the black controller screen.
- Your laptop’s audio settings.
Setting Up the Microphones
- Microphones are stored in the back room of the Core.
- To access them, walk around to the east side of the room behind the video board.
- Inside the cupboard in the middle of the back room, you will find the table microphones.
- Remove the desired number of microphones from the cupboard.
- Press and hold the power button on the bottom of each microphone until it lights up.
- Ensure the black controller on the west side table is turned on and set to Regional Engagement Center.
- To control the volume of the microphones, refer to the How to Control Microphone Volume section.
- Once finished, return the microphones to the charger located in the back room.
Controlling Microphone Volume
- Tap the black controller screen to wake it up.
- Select Regional Engagement Center.
- Locate the microphone control options on the menu:
- Table Mic Controls – Adjusts the volume of table microphones.
- Wireless Mic Controls – Adjusts the volume of lapel and handheld microphones.
- Use the volume sliders to set the desired levels for each microphone.
Connecting Audio via Bluetooth
- Wake up the black controller screen and select Regional Engagement Center.
- Under “Program Audio to Speakers”, select BLUETOOTH.
- Open the Bluetooth settings on your device.
- Locate the white button with the Bluetooth symbol under the table.
- Press and hold the button until REC-Rm-120-BT appears in your Bluetooth settings.
- Select REC-Rm-120-BT to connect your device.
- Adjust the volume using:
- Your device’s volume settings.
- The Room Audio control on the black controller screen.
- When finished, ensure you disconnect your device from the room’s Bluetooth.
Connecting a Laptop to the Video Board
- The Core uses a video board instead of a traditional TV.
- Controls are accessed via the black control panel on the west side table.
- Wake up the black control panel and select Regional Engagement Center.
- Connect the HDMI cable from under the table to your laptop.
- On the control panel, select Laptop under video options.
- Click the two gray rectangles in the middle of the screen to select where the laptop display should appear on the video board.
- Your screen will also be displayed on the TV screens near the ceiling in the conference room.
- When finished, unplug the HDMI cable.
- Click the gray rectangles on the control panel until the video board returns to its normal state.
- If needed, select Signage to reset the board.
Adjusting the Curtains
- The white control panel is mounted on the wall at the entrance to the back of the Core conference room (behind the video board).
- The room has two sets of curtains:
- Transparent Curtain
- Opaque Curtain
- Use the large rectangular buttons on the white control panel to raise or lower the curtains to the desired height.
- After use, return the curtains to their original position.
This guide provides detailed instructions for managing The Core’s equipment. If you experience any issues, please refer to the appropriate section or consult technical support.