

The Student Planner allow students and advisors to map out student courses for upcoming semesters. This empowers students to create a personalized pathway to complete their degree. The student plan includes all completed, currently enrolled, and future planned courses by term.
Quick links to training topics below:
The student plan organizes your courses by term rather than by requirement. The plan can be accessed from the Plans tab in your student profile or the Plan your Path link in the menu.

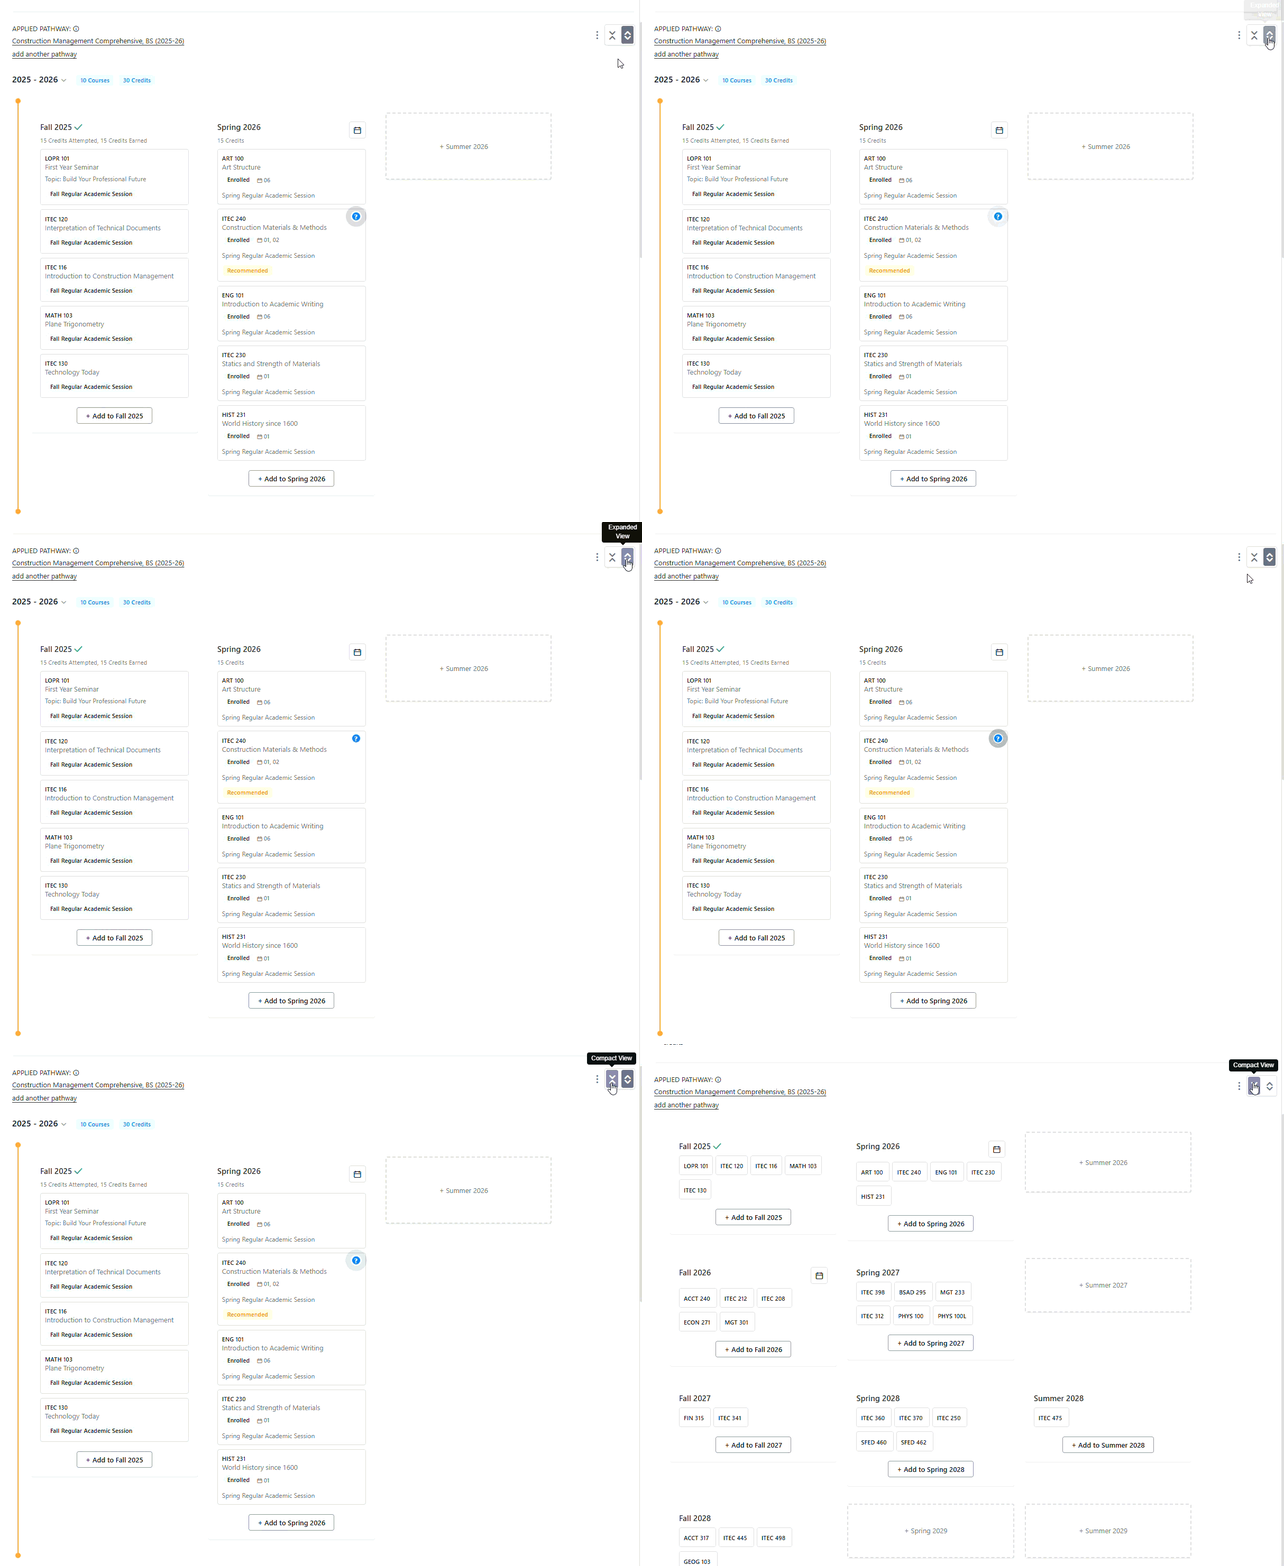
There are multiple display views in the Plan. The expanded view displays full course details for each term, including total credits per semester planned, course title & number, course enrollment status, section number, and semester session. The compact view displays a condensed overview which only includes the semester tile and list of of courses in the plan by term.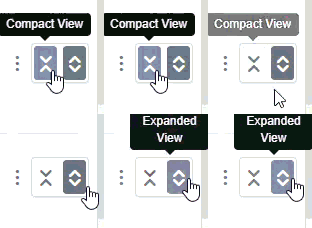
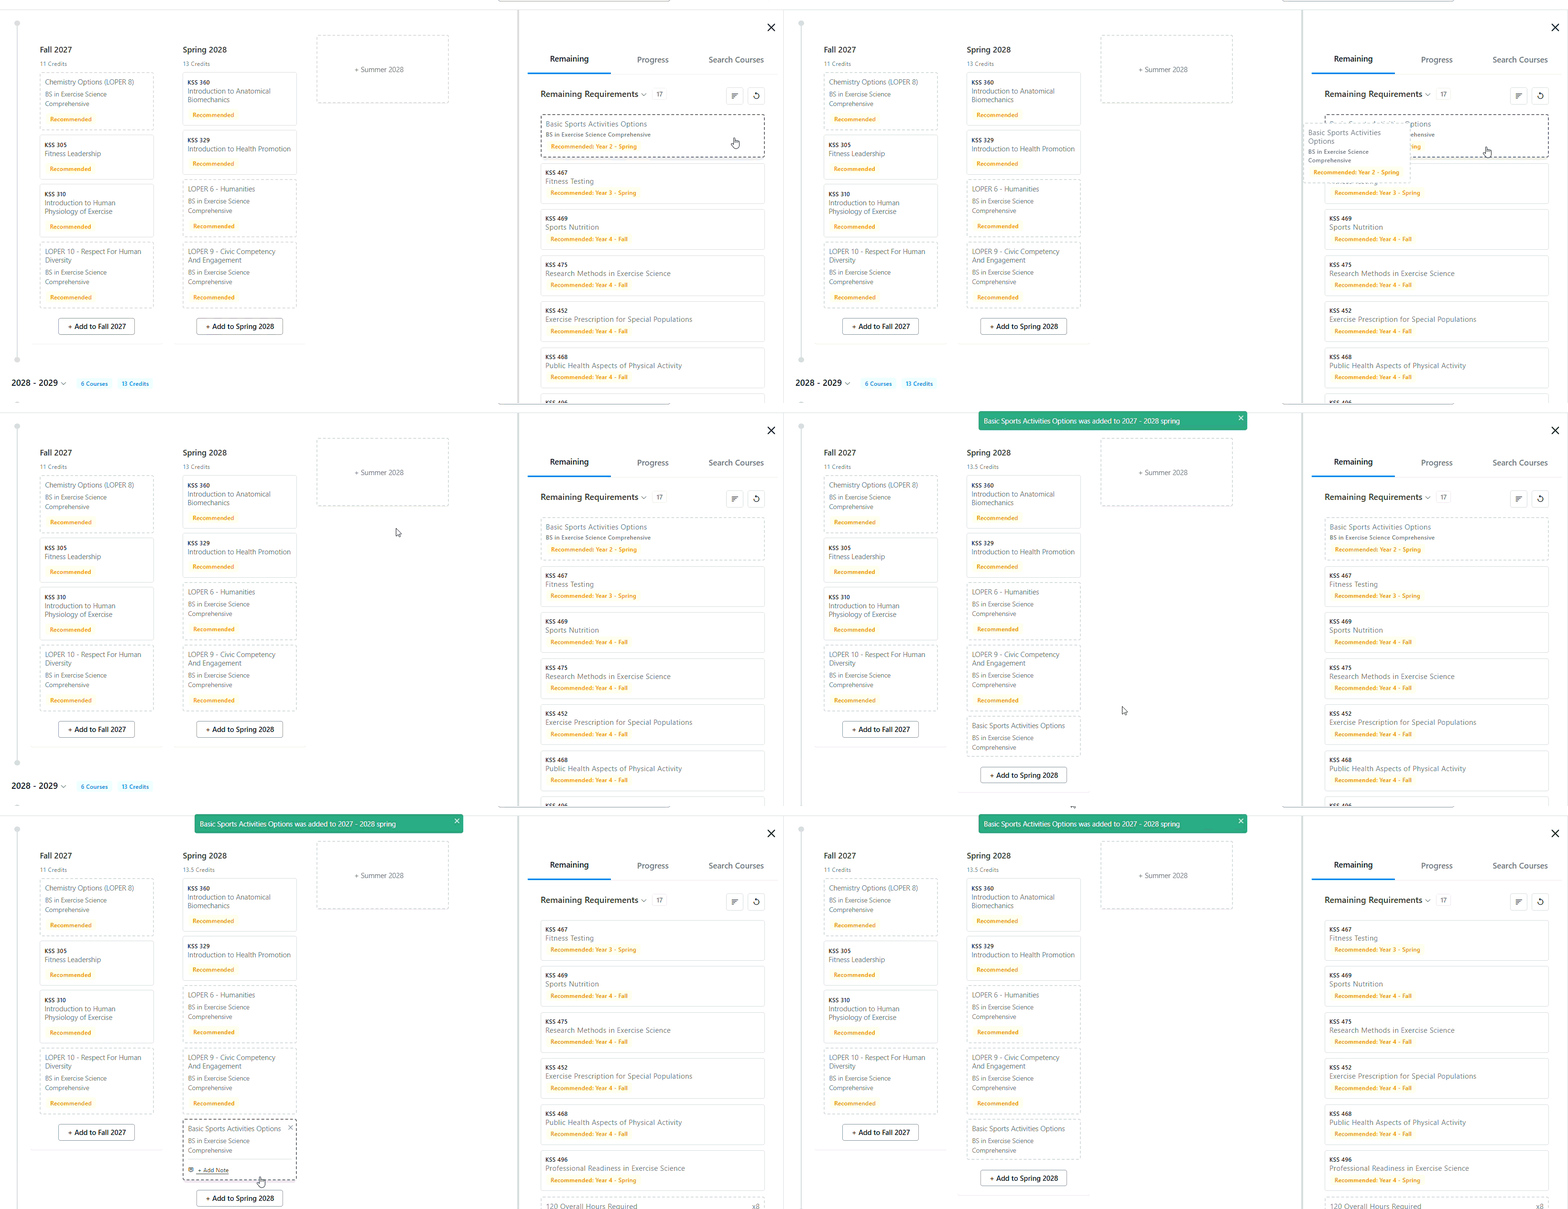
The side-by-side view displays the plan alongside the program(s) requirements. Click on the "Toggle Sidebar" view option at the top of the planner. You can drag courses or requirements directly to the planner from this view.
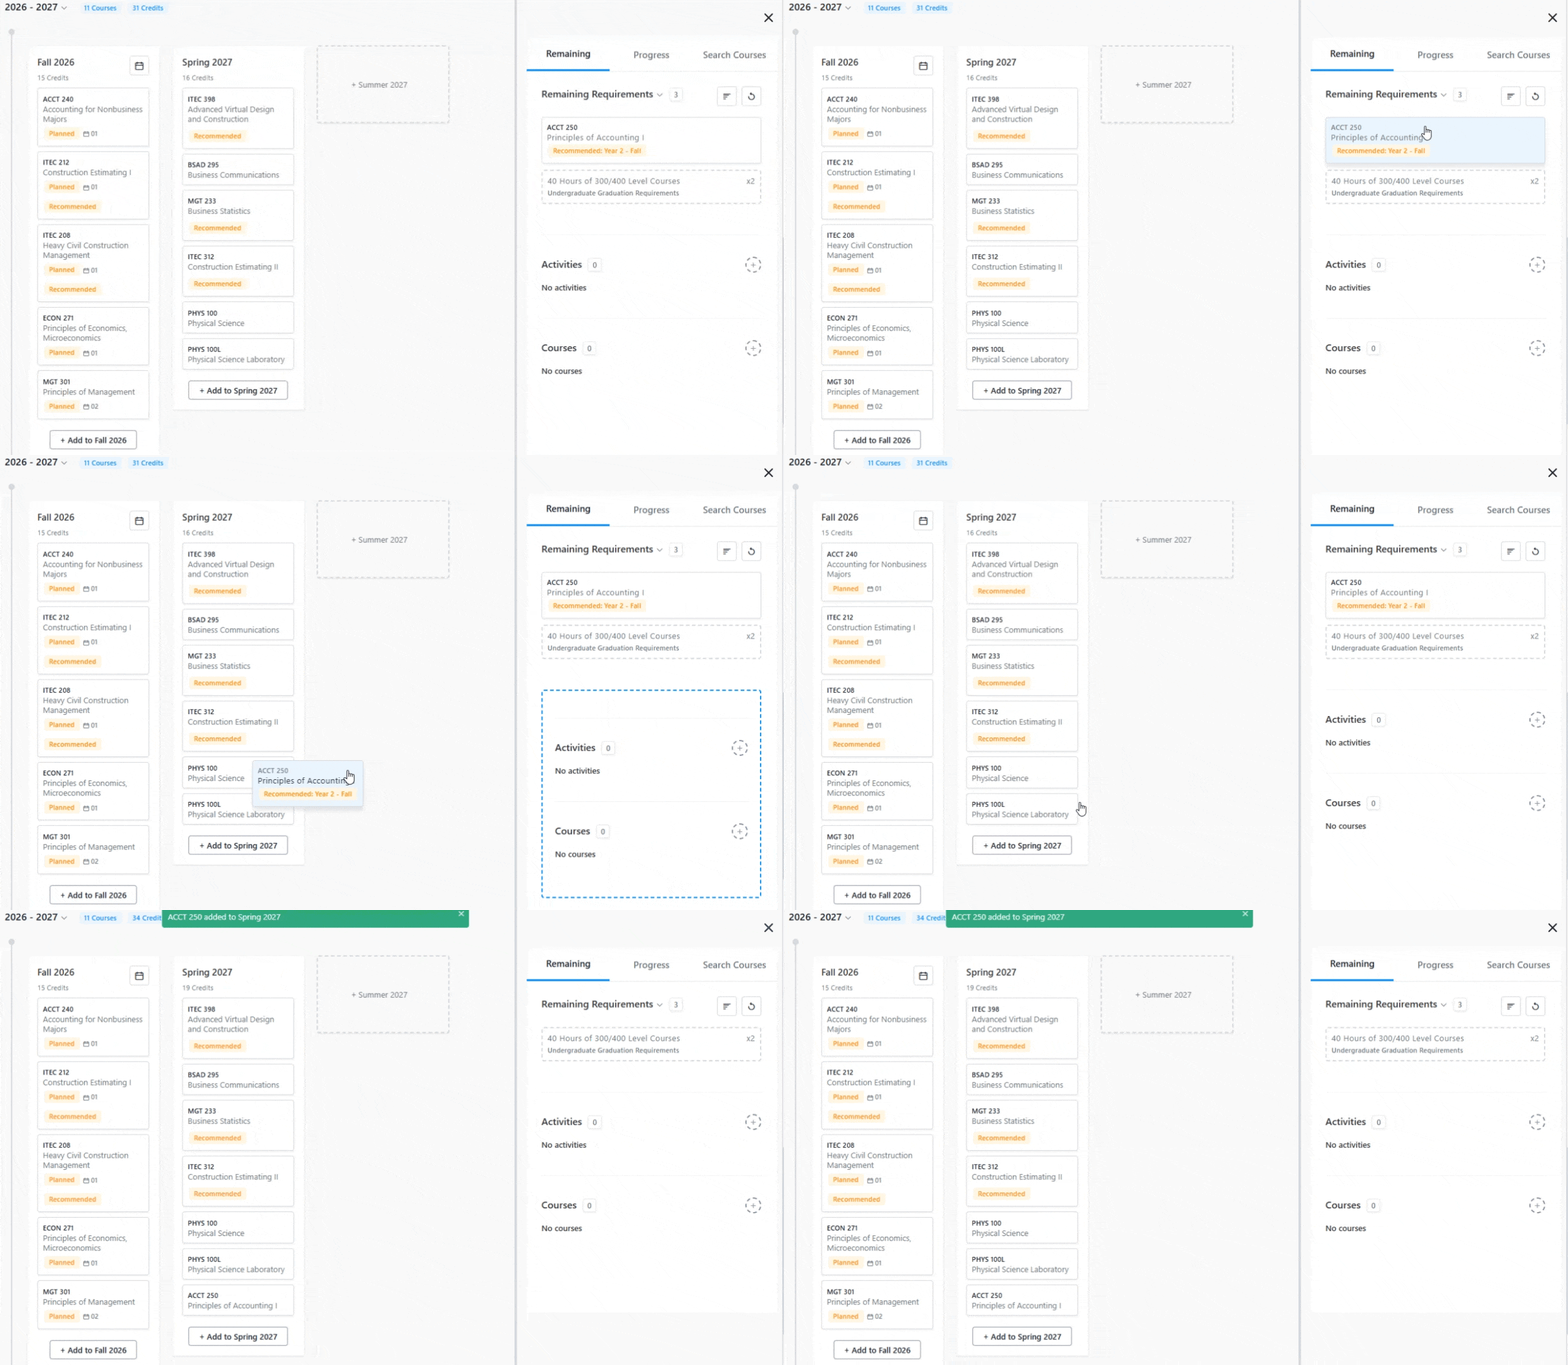 .
.By hovering your cursor over a course, connected courses will highlight (prerequisites, Co-requisites). This is a great way to visualize in the plan, which courses are connected to previous and future courses.
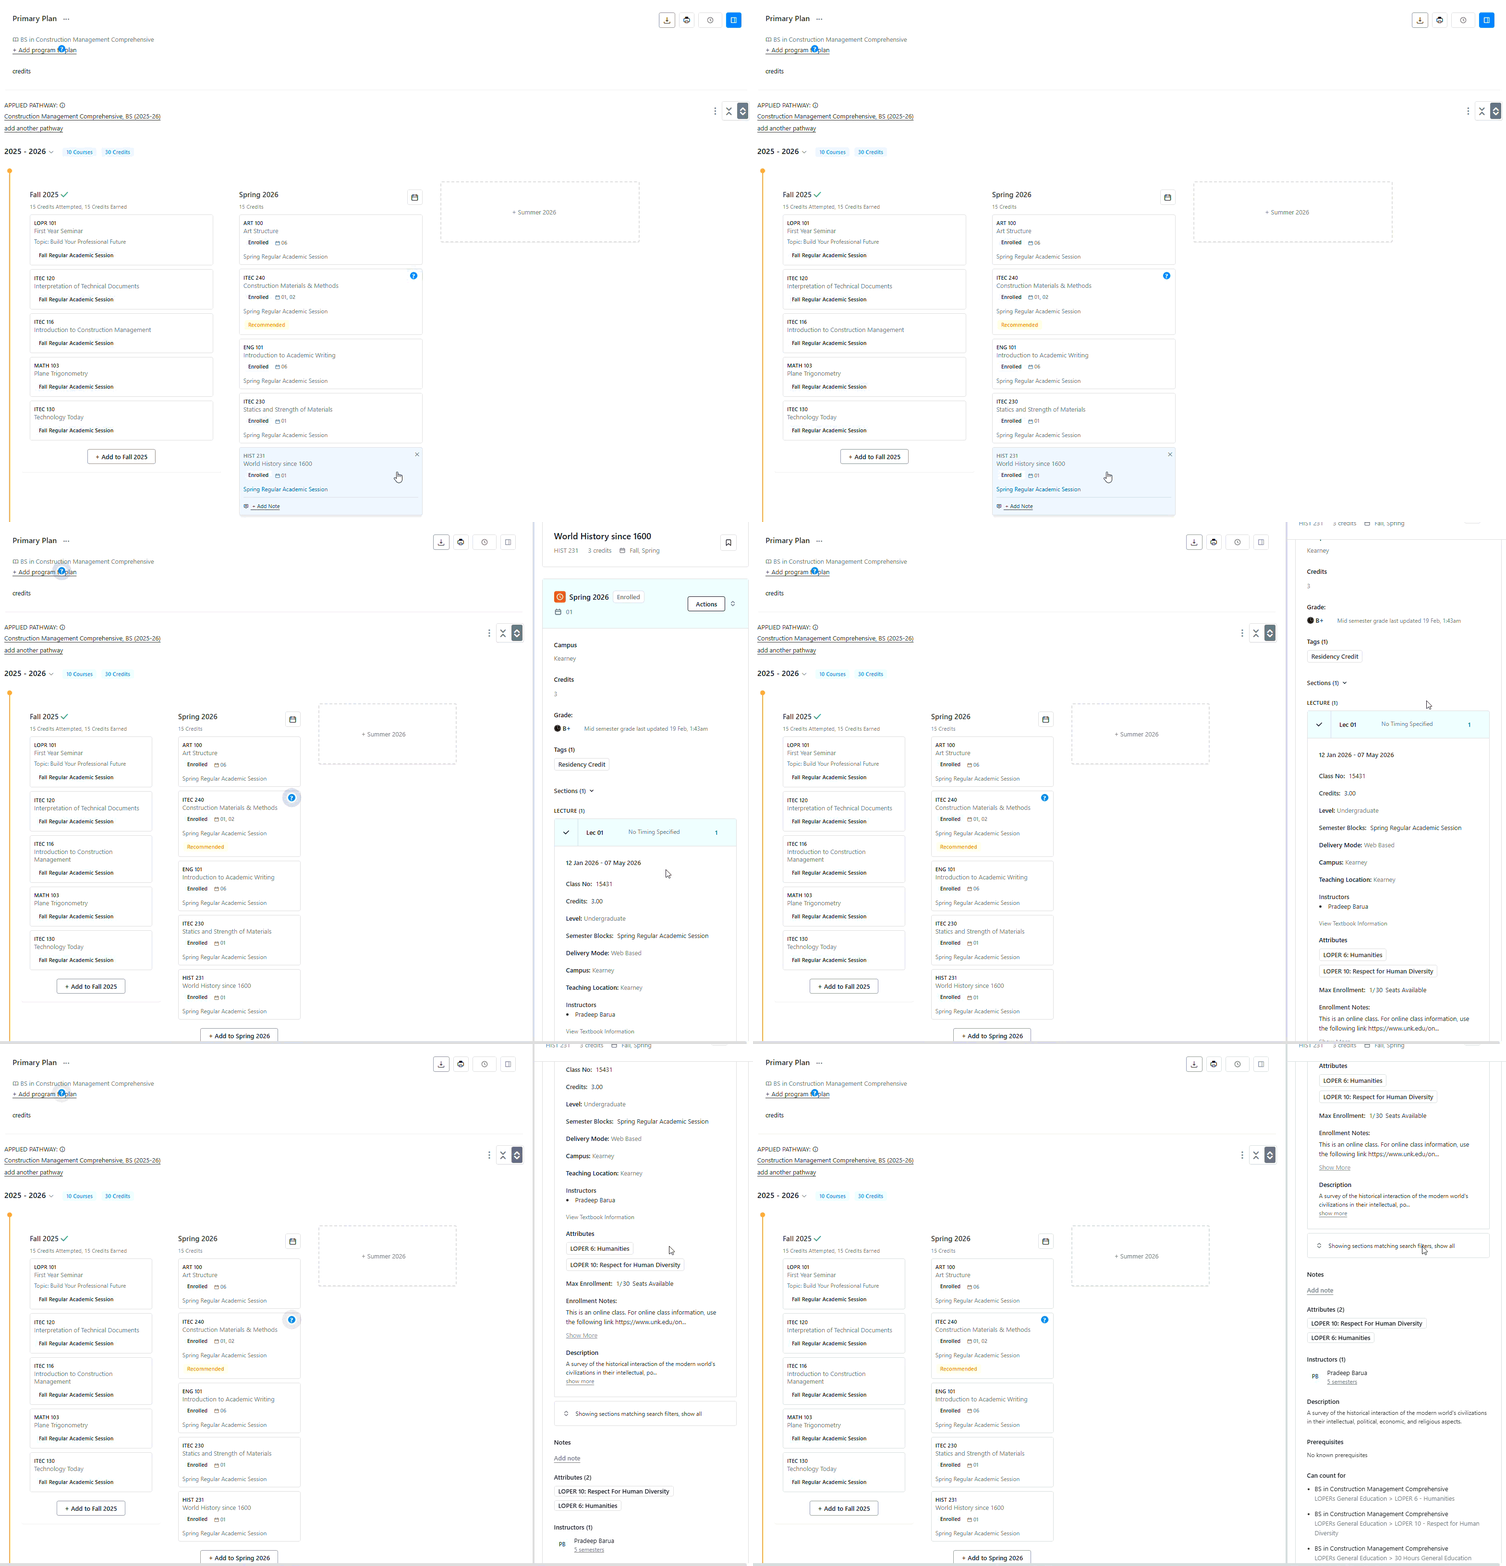
Course details: Clicking on a course tile will provide course information such as it's description, prerequisites requirements it fulfills, section, instructor details and semesters offered.
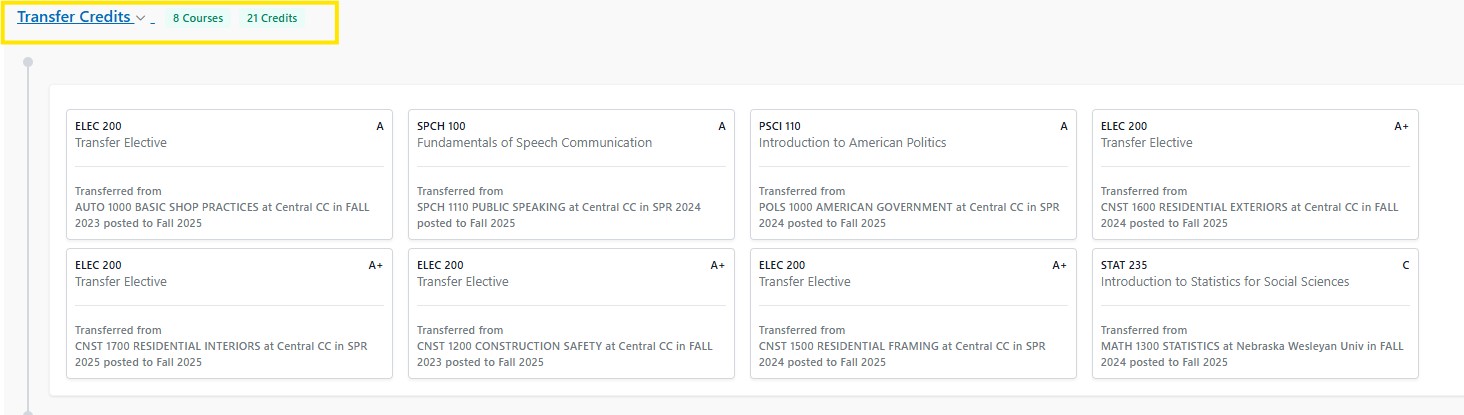
Transfer credits are displayed at the bottom of the plan page.
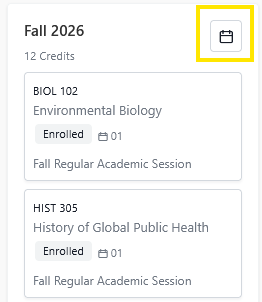
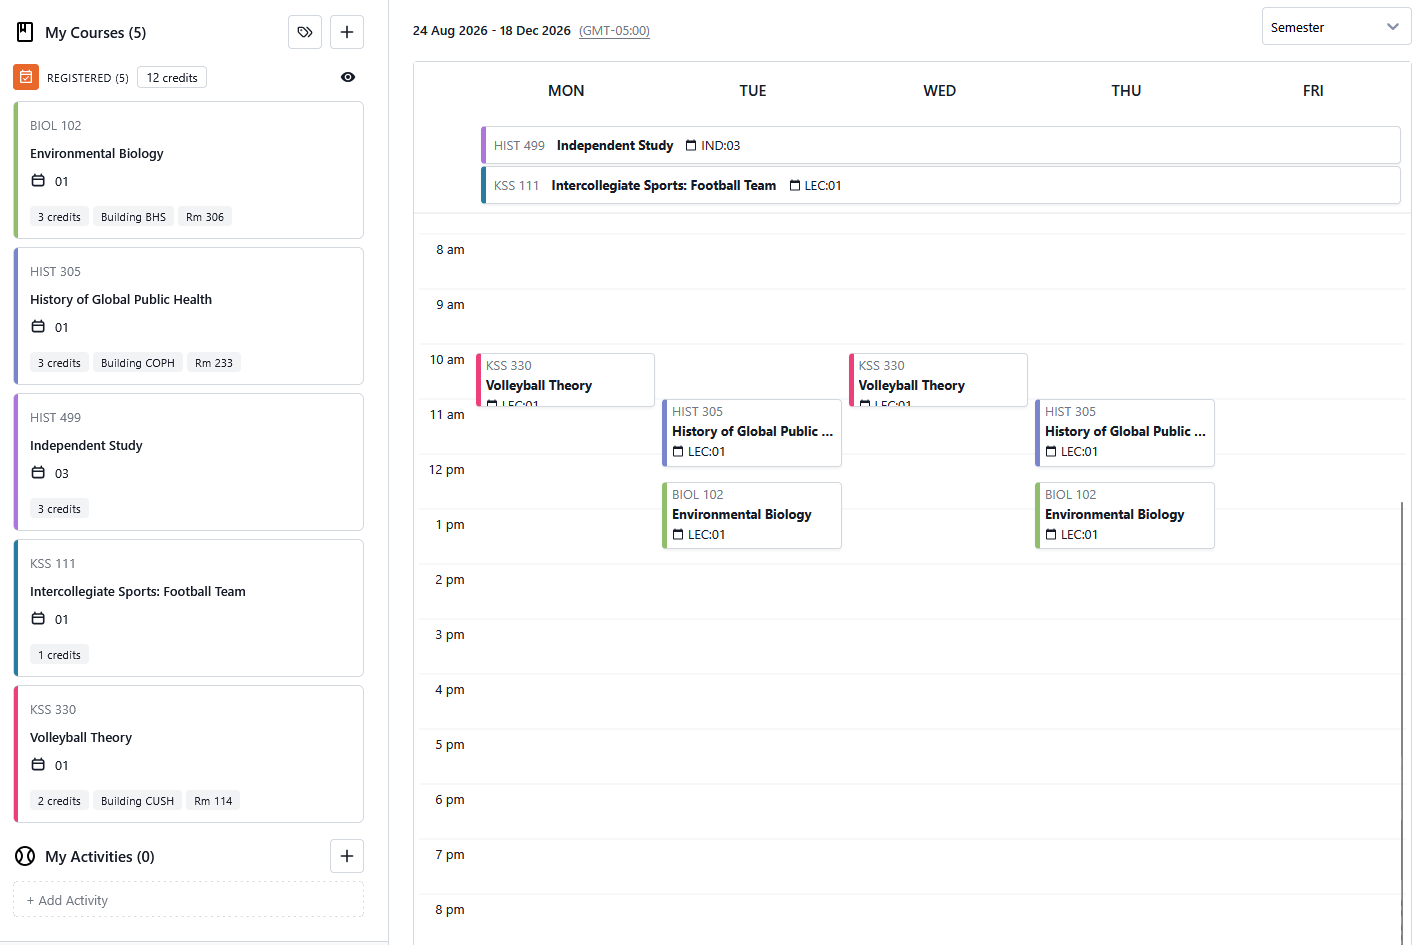
To view a your plan in a schedule format, click the calendar icon next to the term. This allows you to review the planned courses and how it will fit into the your weekly schedule.
From the Student Planner heading, there are options to:
Download Plan (Arrow icon)
Print Audit Report (Printer icon)
Change History (Clock icon)
Toggle Sidebar (Tab Icon)
Advisors will review your primary plan with you. Courses completed and or registered for will automatically populate into the planner and transfer courses will be listed at the very bottom of the planner.
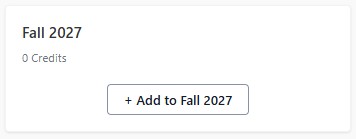
To manually add items into an existing semester, click the “+ Add to [semester]” button
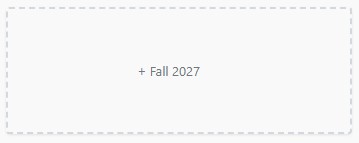
To manually add a new semester, click the “+ [semester]” button inside the dotted rectangle.
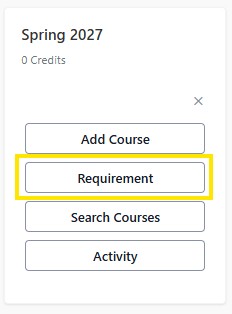
When adding to a semester, you have the option to add a specific course, requirement, or search for courses, or add an activity.
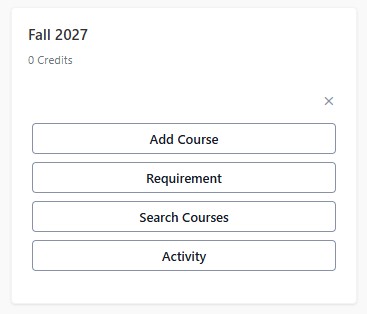
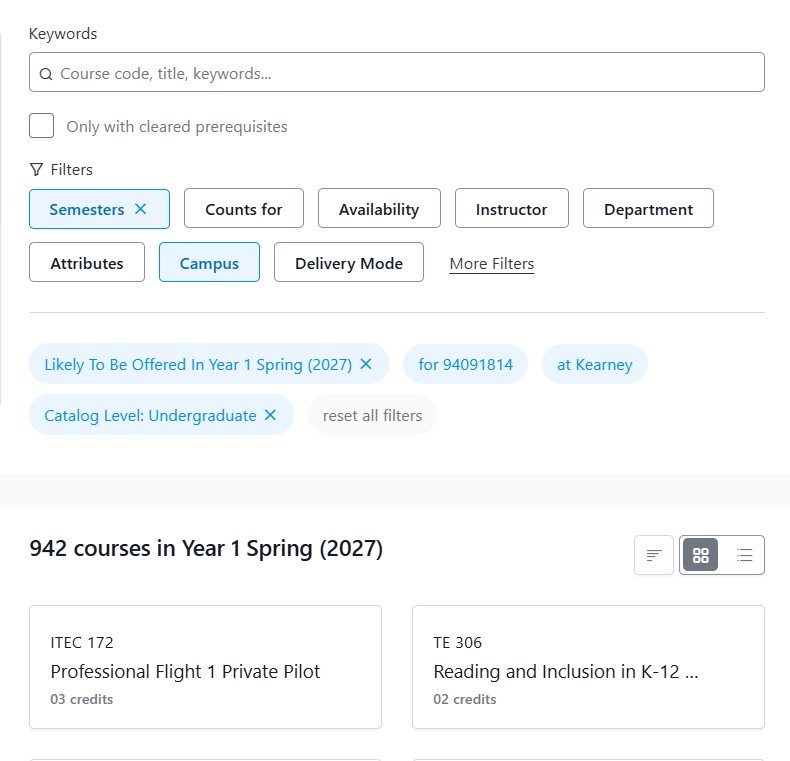
If the exact course in known, use the search courses option and enter the course name into the search bar. Clicking on the "Active Filters" link will additionally open the course search sidebar. Here you can review which search filters are being applied. If a course is not listed, it could be for a variety of reasons. Such as the course and all it's sections are full, the course is not typically offered that term. Adjusting course search filters will will allow you to identify other available courses.
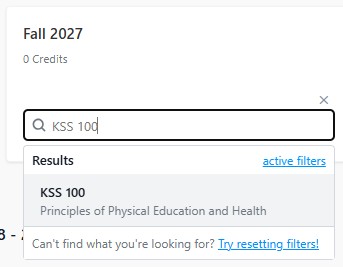
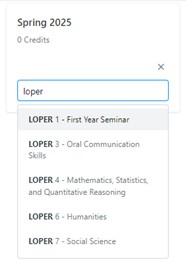
To add requirements such as the LOPER general education requirement, select the Requirement button and search for the requirement, a populated list of available options will appear.
The Search Courses option will pull up the course search feature in the sidebar and allow for a search of courses by semester(s), the requirement it satisfies, instructor, department, attribute, and number of credits. These courses can then be dragged and dropped into the semester being planned.
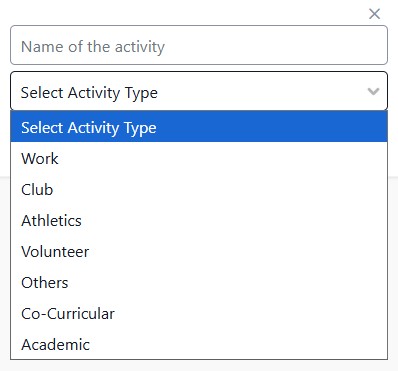
Adding an Activity will let you enter a non-course activity and add an optional activity type. This feature is useful when students are reviewing their plan in the weekly schedule.
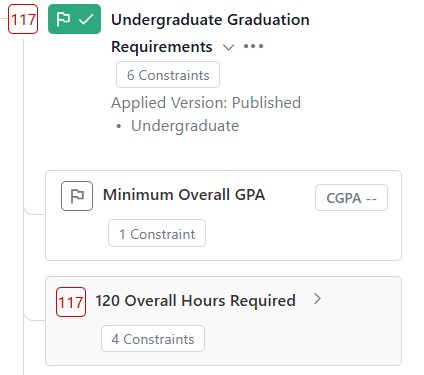
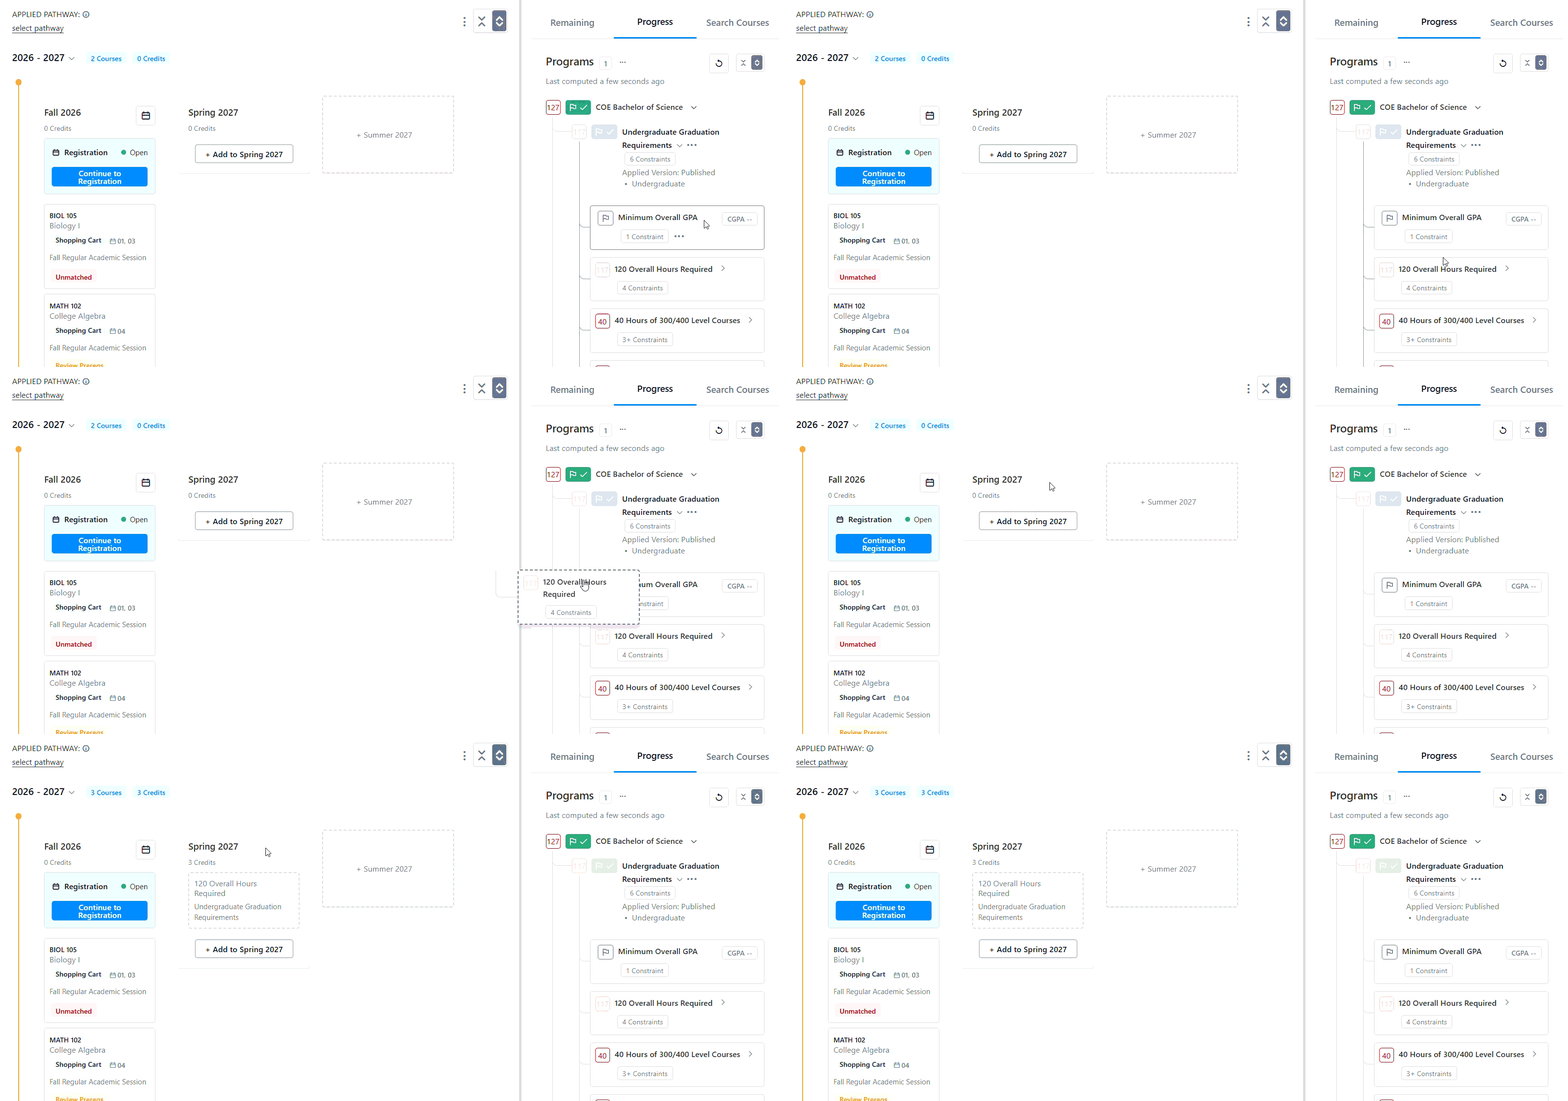
When building a plan from scratch, to plan for unrestricted electives, you can drag the 120-hour requirement from the side view into the semester you are planning. This will default to 3 hours, but you can add a note to indicate any additional information.
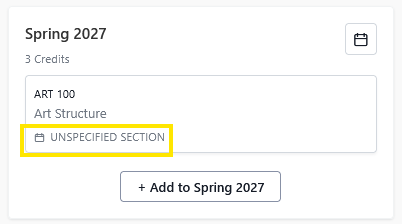
Course Section Selection: Once a semester schedule is made available, during the Academic Advising period, advisors and students can connect to select specific course sections for the upcoming semester. When adding courses to future semesters, section information is not available until that semester's course schedule is available. When courses are added to a Plan it will be labeled as Unspecified Section.
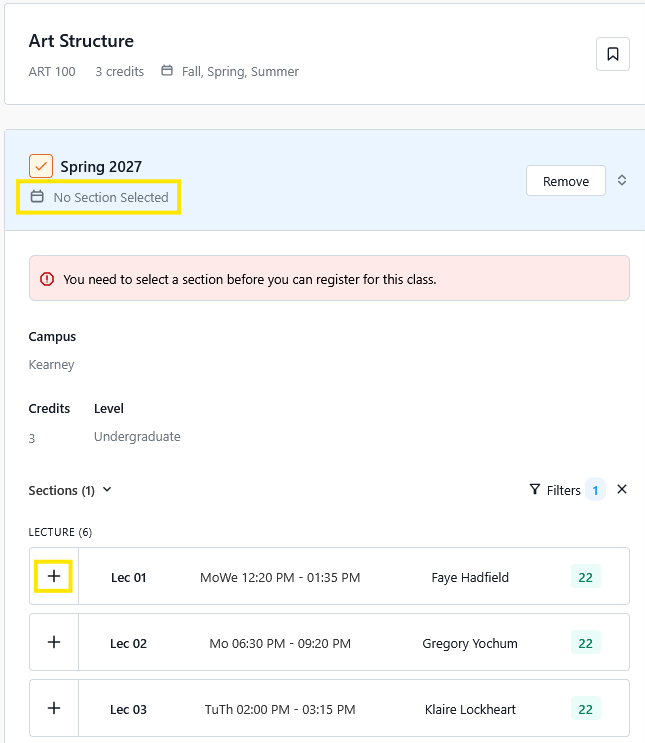
To select the section, click on the course tile and the sidebar will display the course details. Here you can browse the available sections and their meeting times and instructors. Click the + icon to select the section to be added to the student's plan for the upcoming semester.
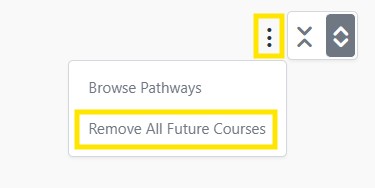
To remove courses and requirements, in the side-by-side view, you also have the option to remove all future courses from the plan. Click on the three vertical dots, and select Remove All Future Courses.
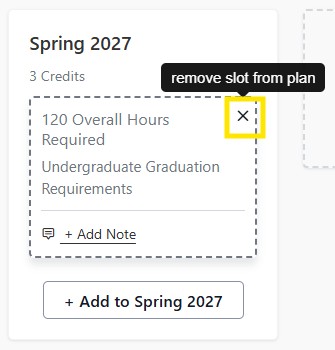
Also, to individually remove a course or requirement from the plan, click on the X in the upper right hand side of the tile.
A Placeholder is a course or requirement indicated by a dashed online. Placeholders are helpful in planning when a certain requirement has a range of possible courses that will satisfy that requirement. It may be up to the student to select which specific course will work best at a later date. Adding a placeholder to the student plan is the same function as adding a course. Learn more about placeholders.
Tip: To identify placeholders, utilize the Remaining tab within the sidebar. The placeholder can be dragged and dropped into the student plan.
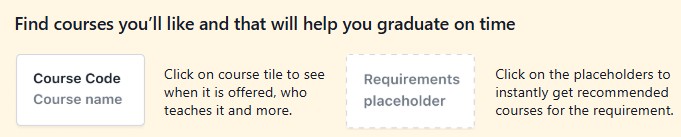
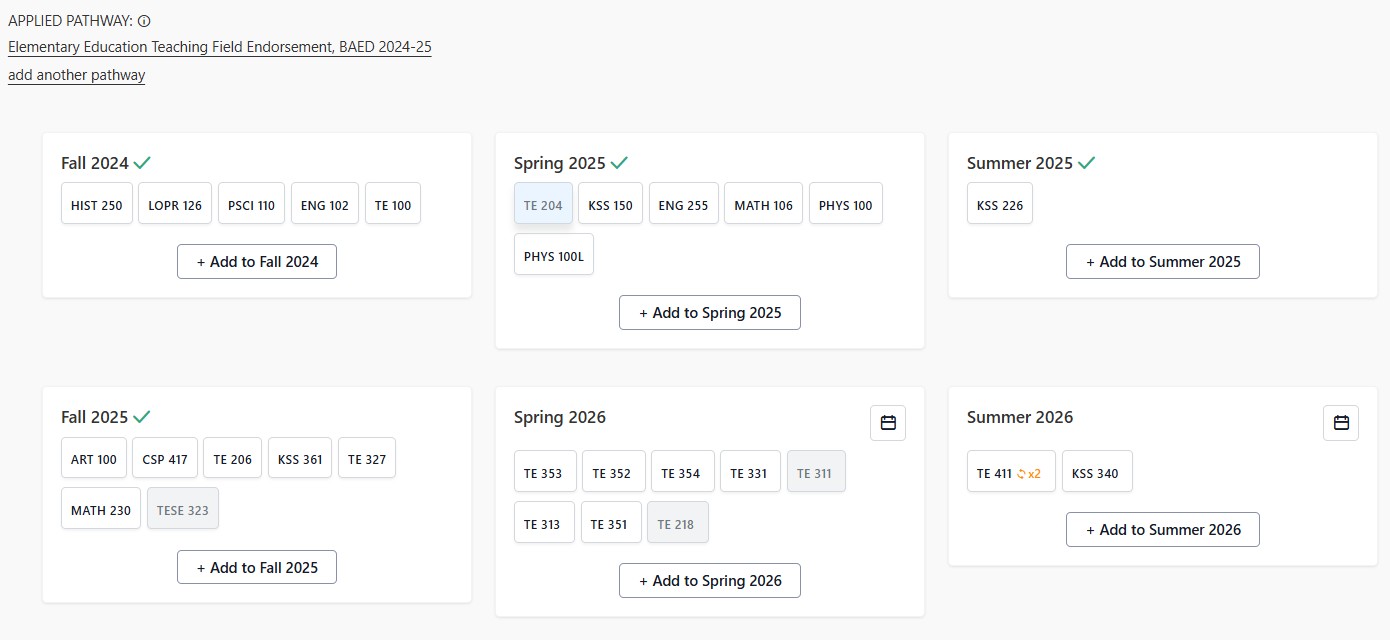
Pathways are student plan templates that outline how a program could be completed by recommended courses and requirements sequenced by term. Pathways are beneficial when exploring and building the student plan. Learn more about Pathways.
Note: Not all pathways will not account for minors, the 120-hour minimum requirement, or the 40 hours of upper division requirement, experiential learning, etc. so additional courses may need to be added.
To apply a Pathway to a your plan, navigate to the Applied Pathway heading, under the Primary Plan section heading, and click on select pathway. There are two options, Quick Add, and Explore Pathways.
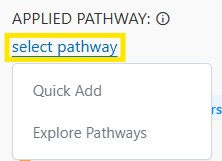
The Quick Add option, will bring up a window where the Pathway selection can be made. Clicking on Explore Pathways will bring you to the available Pathways that can be Browsed and applied to secondary student plans.
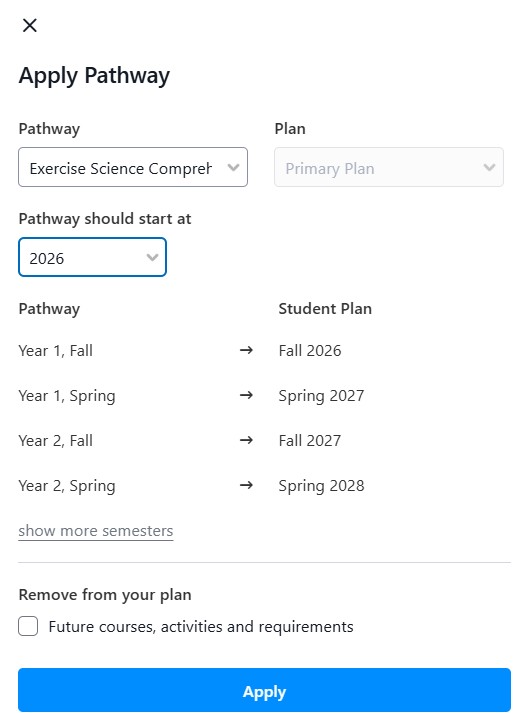
The other option to identify pathways is to select the Pathways link from the left hand menu, under the Explore tab.
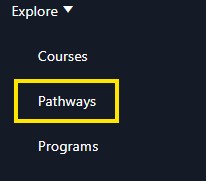
Visit the Pathways page for more in-depth information.
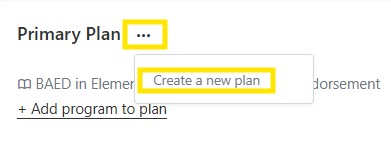
You can create a secondary student plan that is separate from their Primary plan, which is an option for students that would like to explore other plan options. UNK currently supports up to 3 student plans. To create a new plan in the student planner, next to the Primary Plan heading, click on the three dots, and select "Create a new plan"
Next, select a reason for creating a new plan.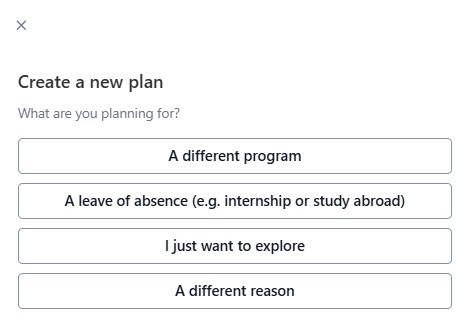
From here the you can title the plan and select which courses to include.
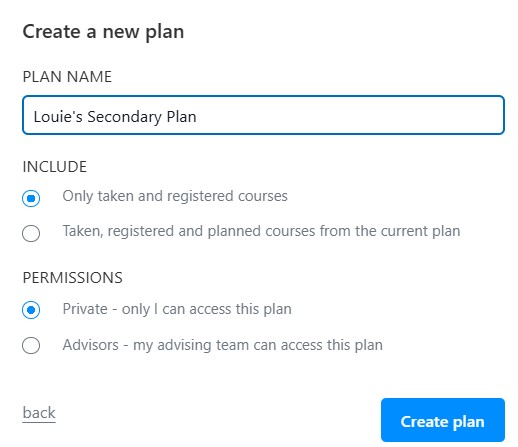
To toggle between the Primary and Secondary plans by clicking on the ^ icon next to the Plan title. Clicking on the +Add Program to plan, allows students to add Major or Minors to the plan. The Actions button allows the you to delete or download the plan.

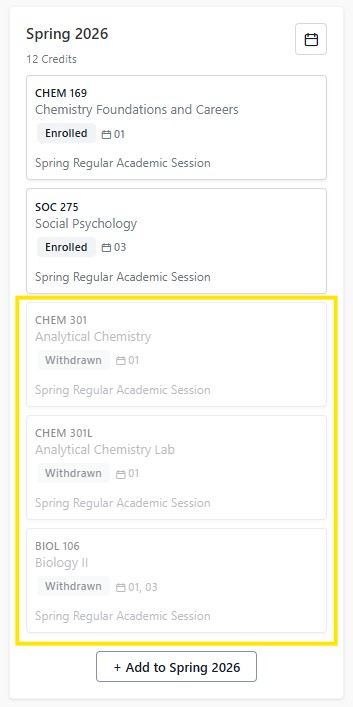
Any courses failed or withdrawn will be grayed out in the plan. Example CHEM 301 & 301L and BIOL 106
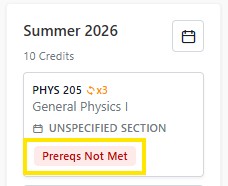
If a class has prerequisites that have not been met this will be indicated on the course once it has been added to the plan.
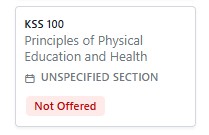
If a course isn’t likely to be offered in the semester for which it is planned, that will be indicated on the course once it has been added.
Any changes made to the plan are tracked and can be viewed by selecting the Change History icon. Advisors may use the changes function to track any plan modifications.