
Stellic reports are beneficial for capturing a wide range of student data to assist in advising as well as analyzing course demand for departments and programs.
Quick links to training topics:
| Creating Saved and Tracked Reports | Automated Reports | Viewing Tracked Report Changes |
| Generating a Report | Progress Report Types | |
| Report Actions | Stellic Knowledge Base For More Details |
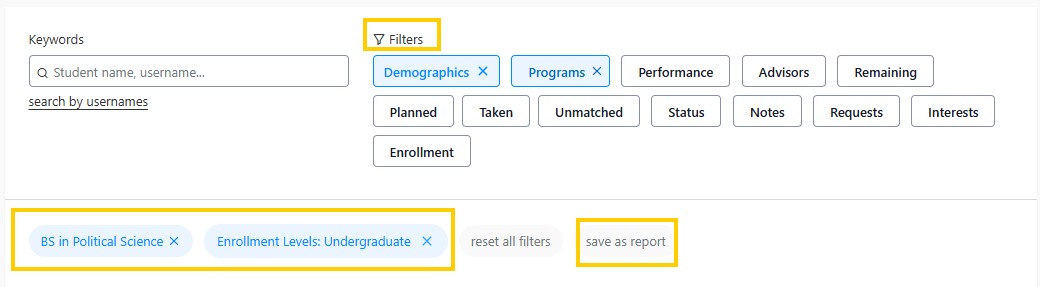
Advisors can save any set of search criteria into a saved report. The search criteria is based on the many search filters available. Once the desired search filters (demographics, Program, GPA, courses planned, etc.) have been selected, click on the "save as report" button to create a custom report or update an existing report.
Example, Undergraduate students that are currently enrolled in the BS in Political Science program.
Select New Report or Update existing report.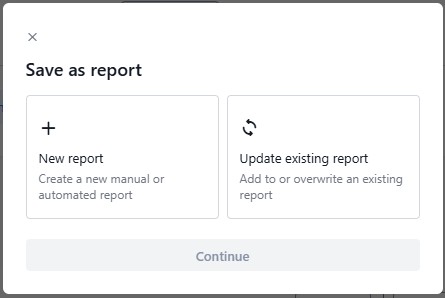
Provide a title for your report. Reports can be accessed from your Home and within the Students tab.
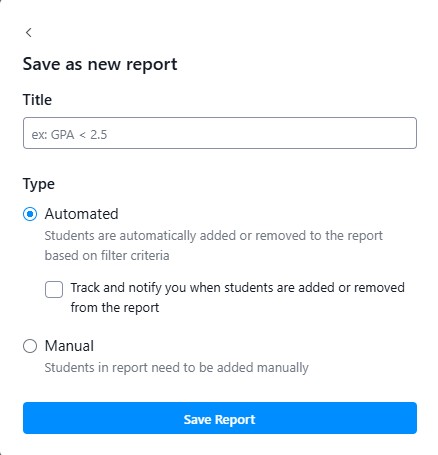
Select which type of report to create. Stellic supports both Automated and Manual types of Saved reports.
An Automated report is dynamic meaning students will be added or dropped from the report as data updates in Stellic and or Myblue. For example advisor changes or courses a student adds or drops.
A Manual report is static. Meaning that it creates a snapshot of students frozen in time that you want to refer back to in the future. It is also possible to modify a Manual type of Saved Report by editing it to add students to the existing Saved Report.
Click Save Report and this will save the search parameters to create a one-click search. The next time you need to perform that search, you can click on your Saved Report instead of repeating the filtering process.
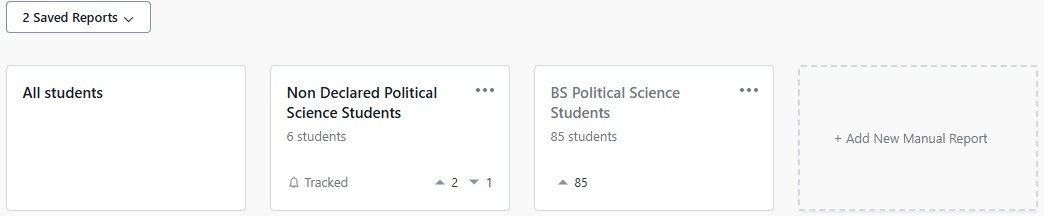
After saving a search, you’ll see it in the main Student tab under ‘Saved Reports’. Reports can also be "Pinned" or saved to your dashboard in the advisor Home. You can always rename, edit, or delete the saved search by clicking into the Saved Report
Saved Reports from Students tab
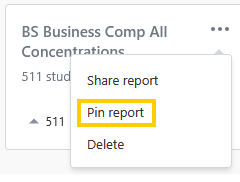
Saved reports can also be pinned and saved to the advisor Home dashboard.
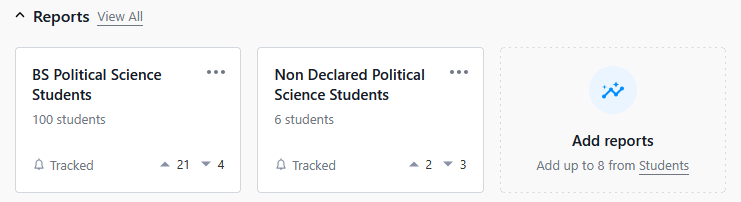
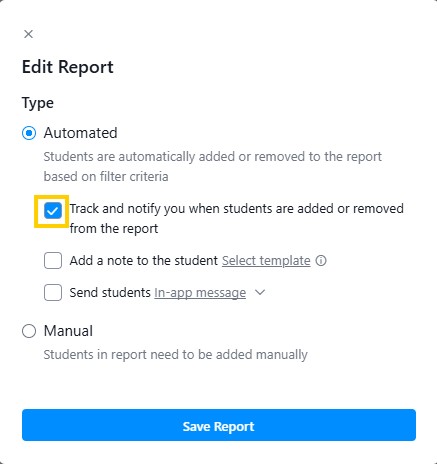
With Automated Report, you can create it as a Tracked Report by selecting Track and notify. When a student is added or dropped off the report you will receive a notification about the change. Notifications are summarized in the Stellic Inbox and emailed to you. Advisors can update notification settings within the user settings in the upper right-hand corner.
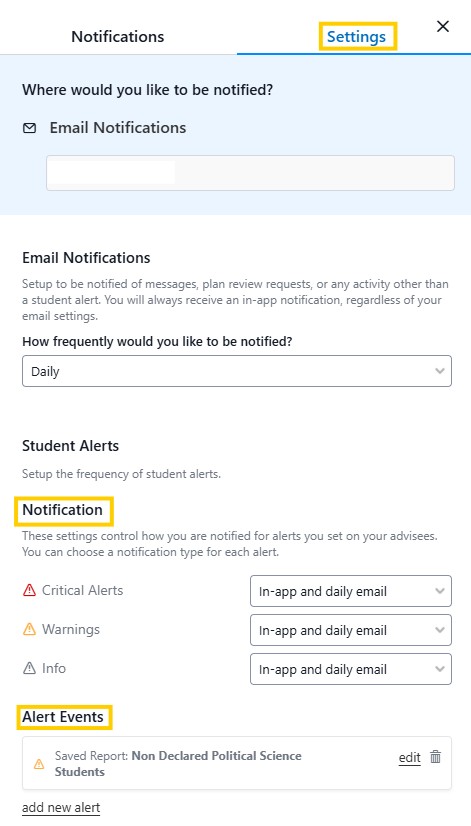
You can then choose to enable in-app notifications and emails about those changes. To do that click on the notification icon  in the top right corner of the page. Select Settings, in the Notification section, choose from the drop down box how you would like to be notified of changes in the reports. Alert events lists the reports you have selected for automatic notifications.
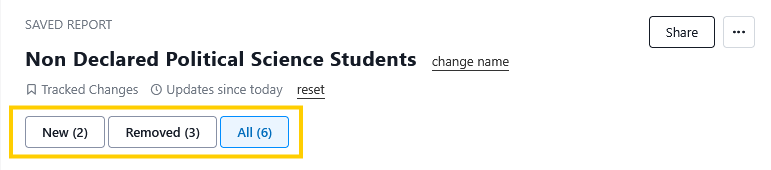
To view students that have been added or removed from an Automated tracked report, click on the New or Removed buttons. Once you have viewed the changes to the report, you can refresh the tracked report by clicking on the Reset link. This action cannot be undone and the report will then track new and removed students starting from the time you clicked “reset.”
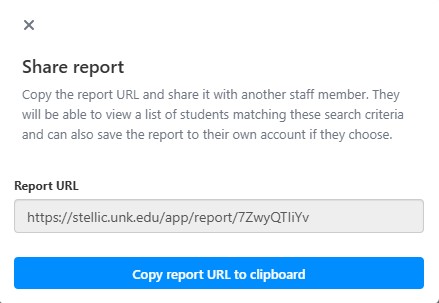
Reports can be shared with other faculty and staff advisors that have Stellic access. To do this click on the Share button in the report heading, and a Report URL will be created.
To edit report settings, click on the three dots next to the share button, this will allow you to change report types.
Report data can be exported into a spreadsheet. When a student search is completed click on the check box to select all of the students to include in the report and click on the Actions button to select what action to take next.

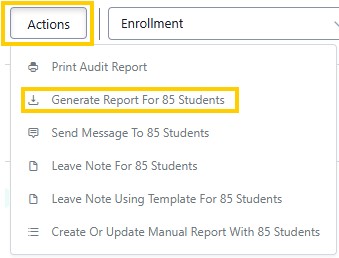
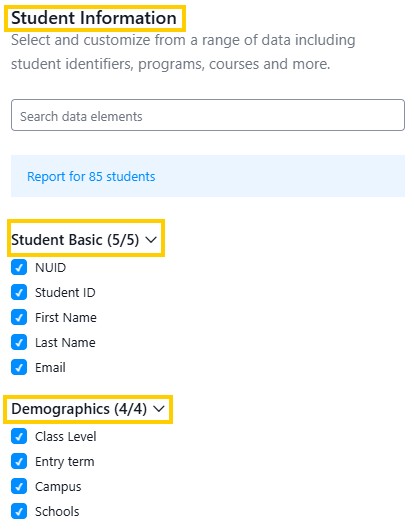
When generating a report, select the Student Information button, here you will have many options of what specific student information to include in the report.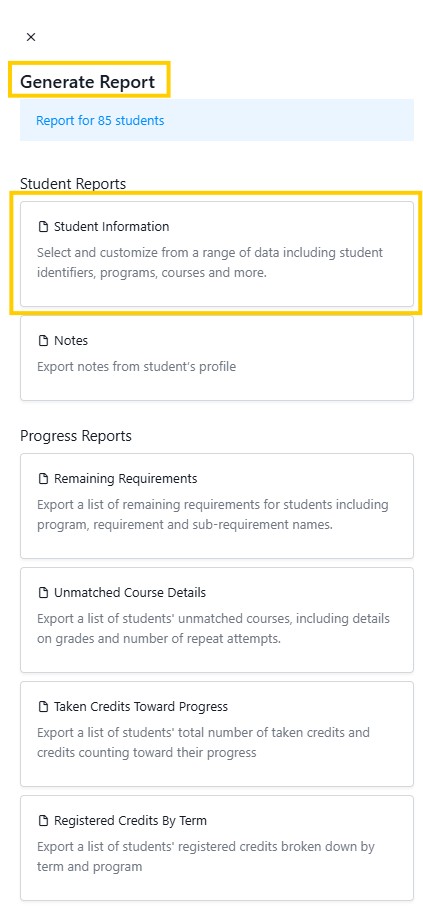
In most cases the Student Basic and Demographic information provides the necessary information needed. Additional data elements such as Support Staff (advisors), Programs, Graduation information, Performance (GPA) Plan, Progress, Stellic Usage, Tags, and Notes can be included in a generated report.
Advisors can export any notes that have been made on a student's profile into a spreadsheet. Select the students from the report to be included, click the Actions button, Generate report, Notes. Then make any further specific selections of student information to include. Finish by clicking on the Download CSV button.
Advisors can generate four types of Progress Reports:
Remaining Requirements Export a list of remaining requirements for students including program, requirement and sub-requirement names.
Unmatched Course Details Export a list of a student's unmatched courses, including details on grades and number of repeat attempts.
Taken Credits Towards Process Export a list of student's total number of taken credits and credits counting toward their progress
Registered Credits by Term Export a list of student's registered credits broken down by term and program.
Each progress report type, after being selected, a window will appear with optional additional specific student information that you can choose to include in the report.
Example of optional additional student data for the Remaining Requirements Report
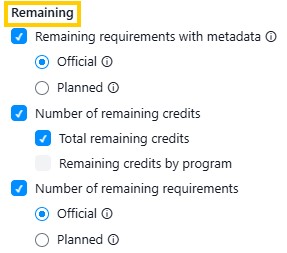
Tip: Advisors can pull the report for either official or planned audits.
There are several additional actions that can be made when generating a report:
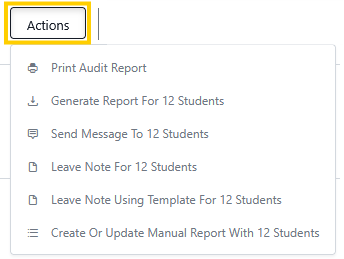
Print Audit Report Export student audit information into a PDF file. Select all the students from a saved report that you would like to include in the audit report. Audit report printing options:
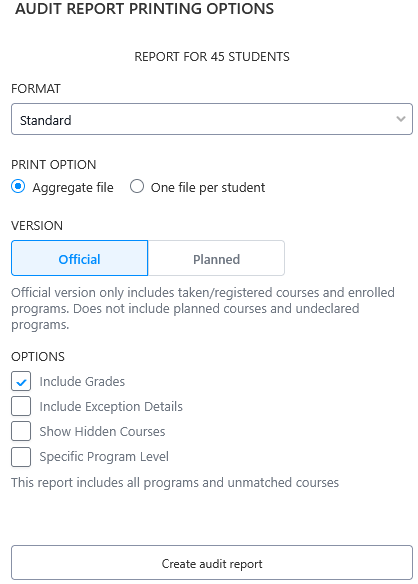
Send Message to ... Students Send bulk messages to the students included a report by selecting this action item. This can be beneficial when making announcements for advising or program level communications.
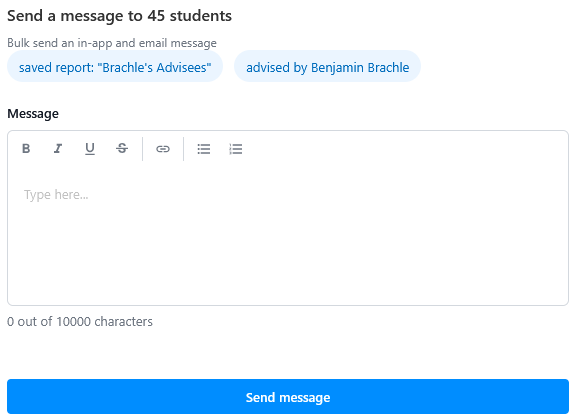
Leave Note for ... Students Advisors can leave a note on student profiles in bulk by selecting this option. The Note format and process is the same as it would be on an individual student, but in this case it can be applied to all students in the saved report.
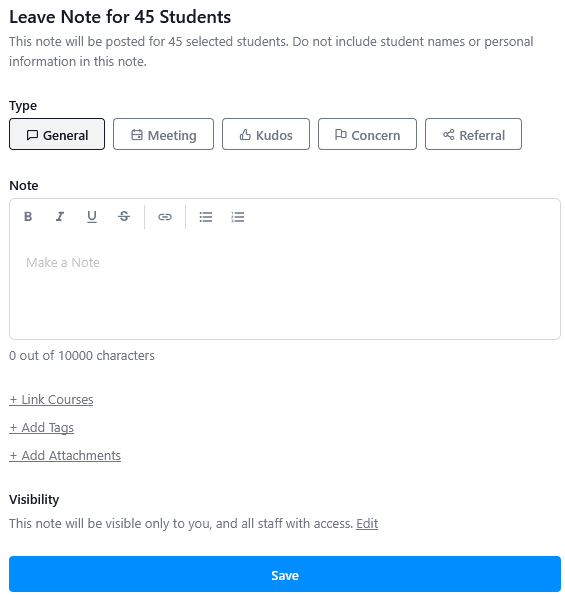
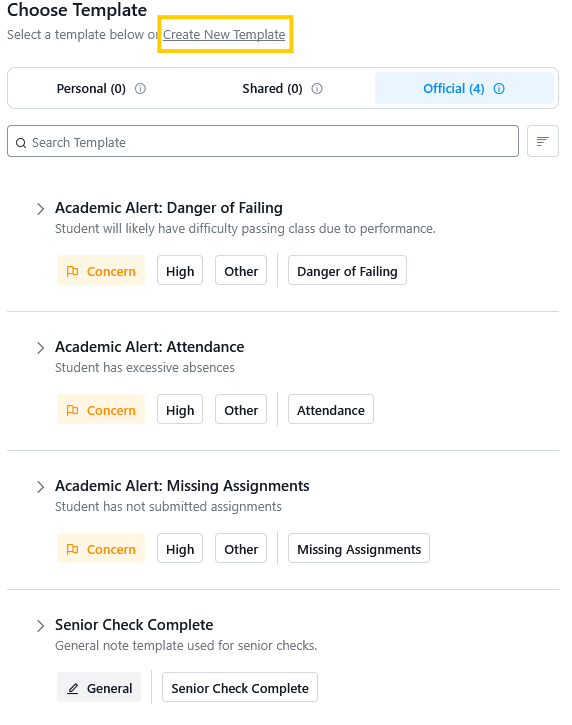
Leave Note Using Template Advisors can leave a note on student profiles in bulk. This option allows the use of created templates. Advisors and or departments can create templates best suited for their specific needs by clicking on the Create New Template link.